Showing posts with label Windows 7. Show all posts

Monday, May 13, 2013

Dual Boot Linux Mint + Windows 7


Case :: linux mint installed peacefully but something urgent makes you need to install windows 7 later

Prerequisite:
  • linux mint distro dvd 
  • windows 7 installation dvd
  • make sure your hard disk primary partition only takes at most 3 partitions
        notes:
  • msdos partition table only support 4 primary partition. so save 1 primary partition for windows
  • what if i used all the primary partition? okay, prepare yourself to loss one of the partition. next line will be an obligation
  • backup your data
        backup your home, backup your package using aptoncd, just in case there is a disaster

Steps
1. make more space for windows (resize partition)
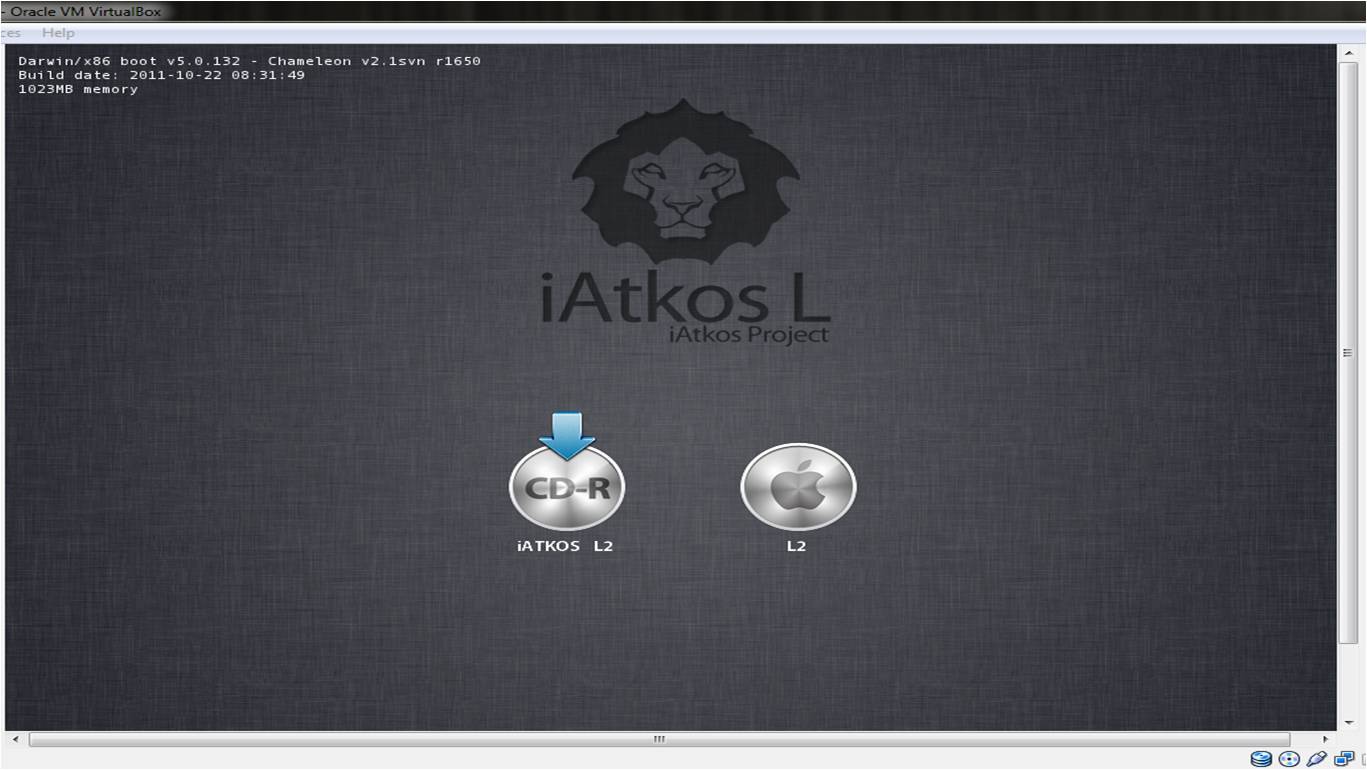
  • insert linux mint dvd to tray, boot from DVD and open GParted
  • choose one partition that is large enough for your windows NTFS (at least 15 GB)
  • next we will resize it
 
        notes:
  • for safety measure resize the partition from the end (the white area). the beginning part may contain your data (the yellow area)
2. installing windows
  • insert windows dvd to tray, boot from DVD and install windows
  • choose the unallocated space
 
  • install & wait until it's finished 
  • now you will automatically boot to windows and your grub gone somewhere. 
3. reclaim the boot flag
  • reboot, insert linux mint dvd to tray again and open GParted
      
as you can see windows will grab the boot flag so we have to give it back to grub. we'll continue to the next step
    
4. reinstall & update grub


     now it's time to call the terminal
  • mount the linux mint partition
      $ sudo mount /dev/sda6 /mnt
  • mount some directories that are needed
      $ sudo mount --bind /dev /mnt/dev
      $ sudo mount --bind /sys /mnt/sys
      $ sudo mount --bind /proc /mnt/proc
  • mount boot partition (only if it's located in separate partition)
      $ sudo mount /dev/sda1 /mnt/boot
  • chroot to mount point
      $ sudo chroot /mnt
  • install grub to hard disk (not the partition)
      $ sudo grub-install /dev/sda
  • update grub to detect all bootable OS and option
      $ sudo update-grub
  • finishing... exit /mnt and unmount them
      $ exit
      $ sudo umount /mnt/dev
      $ sudo umount /mnt/sys
      $ sudo umount /mnt/proc
      $ sudo umount /mnt/boot
      $ sudo umount /mnt/

5. reboot again

      $ sudo reboot  

6. let's wait and pray...
    thank God it's back :D


tried this in detail (including screenshots) using virtualbox. hope it's not much different from the real thing

Reference:
update-grub from live-cd

Tuesday, March 20, 2012

install iATKOS L2 on VirtualBox Windows 7 & Ubuntu Quantal


Greetings! i just tried to install iATKOS L2 on VirtualBox. OK Here we go. 

Requirement
- iATKOS L2 installation image
- Oracle VirtualBox [download]

Tested on
Oracle VirtualBox 4.1; Windows 7 64bit; 
Oracle VirtualBox 4.2; Ubuntu 12.10 64 bit;
Oracle VirtualBox 4.3; Linux Mint 13 64 bit;
Intel I3; 8GB RAM

Installation Steps
1. Restart your PC and enter BIOS mode by pressing key to enter setup (may differ for each computer. Lenovo use F2 key)

2. Enable Intel Virtualization Technology (Needed for multi virtual CPU and acceleration using VT-x/AMD-x)

3. After reboot, create new Guest OS on VirtualBox and choose MAC OS X server
4. Allocate RAM (min 1024 MB)

5. Skip Virtual Hard Disk for now by unchecking Start-up disk. Just ignore the warning
6. Tune up other settings
     - System
        * Motherboard
            # check enable : IO APIC;
            # uncheck enable : EFI;
        * Processor
            # allocate 1 or more virtual CPU depend on physical processor capability
            # check enable : PAE/NX
        * Acceleration
            # check enable : VT-x/AMD-x; nested paging
    - Display
        * allocate video memory 128 MB
        * check enable 3D acceleration
    - Storage
        * IDE Controller (type ICH6)
            # IDE Primary Master
                + add new HardDisk
                + choose vdi format or choose vmdk format(compatible with VMware)
                + allocate space min 15 GB and create
            # IDE Secondary Master
                + click Empty Disk
                + choose a virtual CD/DVD disk file
                + load iATKOS L2 image


- Let the rest as it is
        * in my case, i disable sound because of some reason

7. Start the guest OS

8. Choose installation language
9. Open Disk Utility
10. Create a Clear Partition. Use Erase (Format)
11. Continue the installation

12. Install it to our previous partition
13. Wait for a few minute until installation done (i missed the done page -_- oh well)

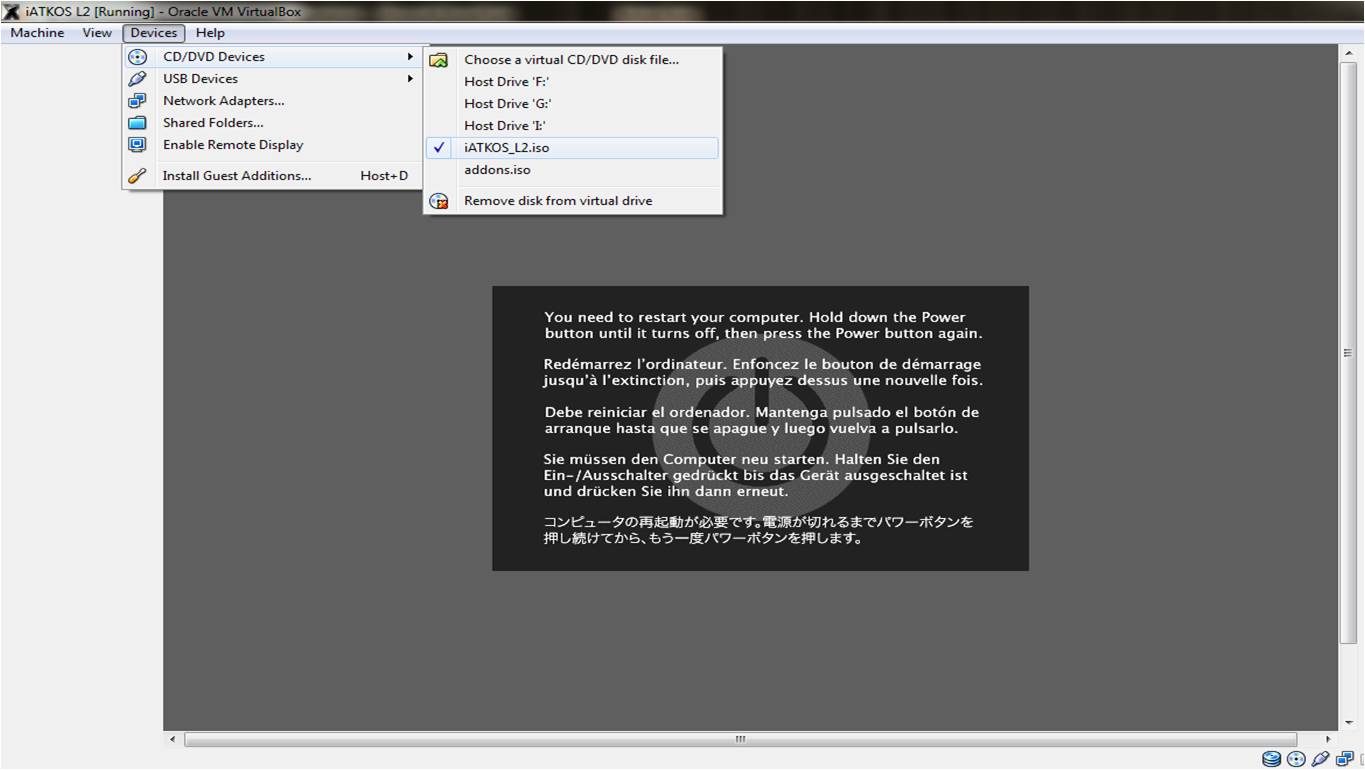
14. when you see this page (result of shutdown or restarting the virtual iATKOS) just Reset the VirtualBox. don't forget to UNMOUNT the installation image.

15. if the installation disc still remain in the CD/DVD storage we need to press F8 to enter boot option before the time bar runs out. and then choose the formated partition using arrow key and enter/return.


16. Finishing installation. we can skip some page but make sure to make one computer account and password for log in


17. After log in, you maybe asked for keyboard configuration. Just follow the step to press the key beside the Shift key


18. Launch System Preferences and click Boot Loader (bottom most cameleon)


19. choose startup disk or default boot partition with clicking it and check it in boot setup


20. you can also set the boot timeout.  in case you don't want iATKOS to wait for bootable media and immediately boot to your primary drive, set it to 1 sec


21. Shutdown. Unmount the installation image and reset VirtualBox


22. It's all done! the rest is up to you


Other Issues
works!
- NAT connection
- CD/DVD load*
- USB*
* try to load device from VirtualBox devices menu. CD/DVD device can be set from OS storage settings

untested**
- shared host folder (read [3])
- audio
**check the references for more info 

References

done for learning purpose only. Try it at your own risk :P